Documentation
What is MiniPics
MiniPics is a lightweight desktop application that can be used to compress and optimise images in bulk. The application will allow for the photo quality, dimensions and format to set. Using these settings, the program will recreate any images imported to a user specified directory.
Nevertheless, if a quick and easy tool is what you are after then your search also ends here. You always just select auto and watch how the file size reduces by up to 55%!
The program does not require you install and so you it would take more time to read through this page then to optimise your first image.
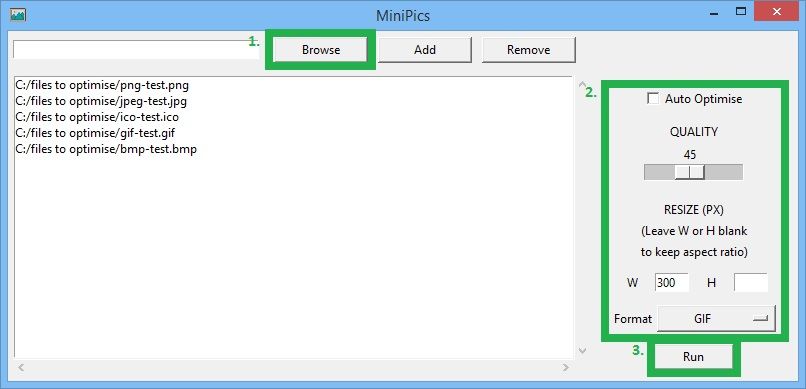
Quick Start
- Download and open MiniPics
- Click on browse and select all the images you would like to optimise and press open
- Set how you would like to optimise the images
- Press run and set the destination folder
Adding Files (Browse Button)
Using the browse button you will be able to open your systems file browser. You will then be able to highlight images and load onto the program. The program will be able to distinguish between compatible and incompatible files and will highlight any incompatible files. So in other words, if you are unsure, go ahead and attempt to upload.

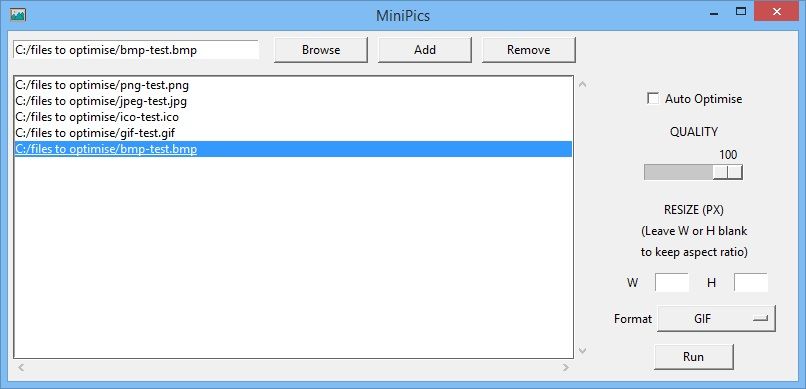
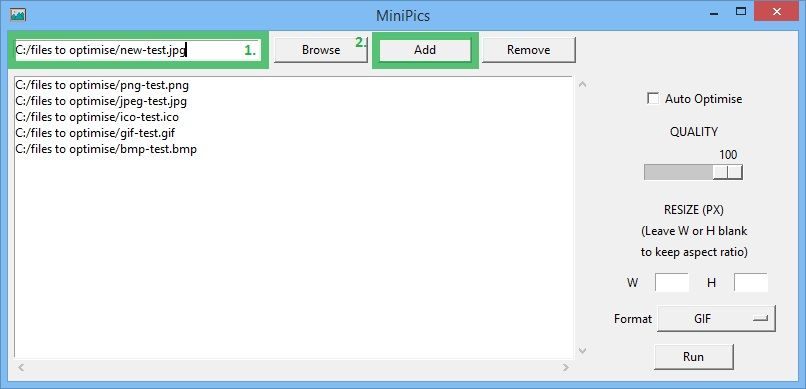
Adding Files (Add Button)
You are able to add files by pointing to the file path in the input area and pressing add. The program will then search for this file and if it exists, it will add it to the list of uploaded images. If the file does not exist, it will return with an error message.
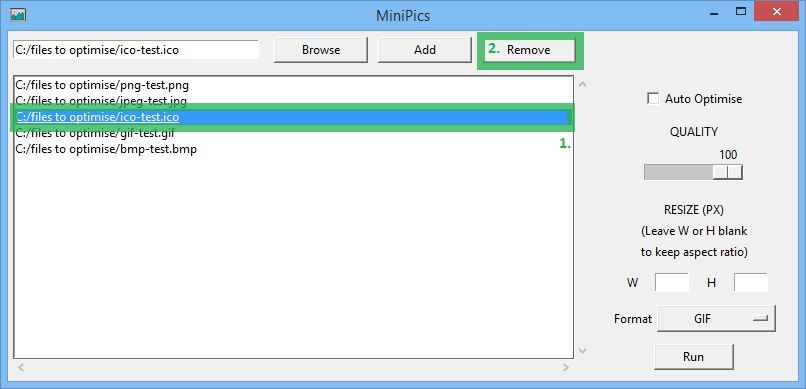
Remove Button
To remove a file, simply highlight the file you wish you remove from the list and press remove. This will remove it from the list.
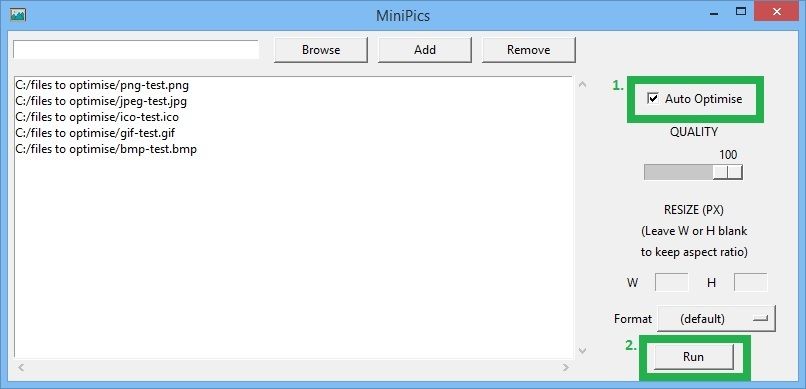
Run Optimisation
Once you have set all your desired settings, press the run button. This will firstly ask for a destination location and will then start to optimise each file in the list and export to the set destination.
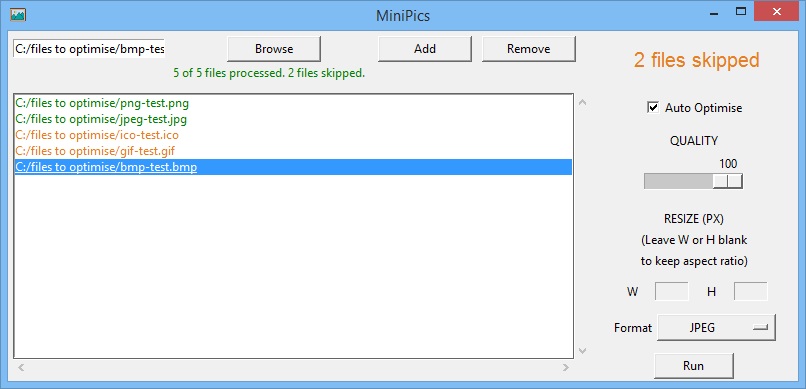
The program will keep track of which files were processed and if any files were skipped this will be highlighted.
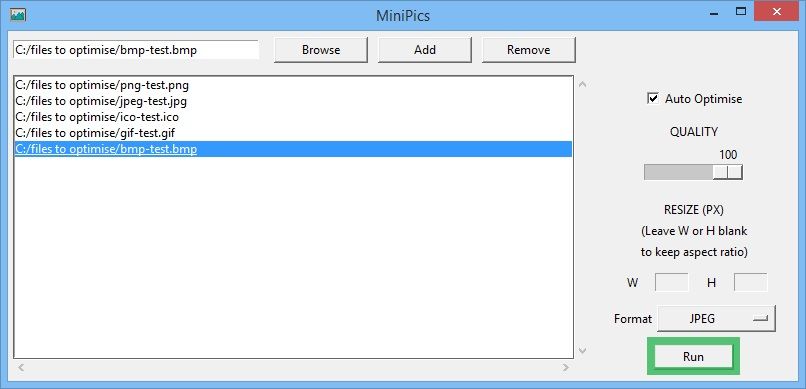
Auto Optimise
Selecting the auto optimise will disable all options other than the change of format.
The auto mode will optimise the images to reduce the size but will also aim to ensure there is no visible change to the image.
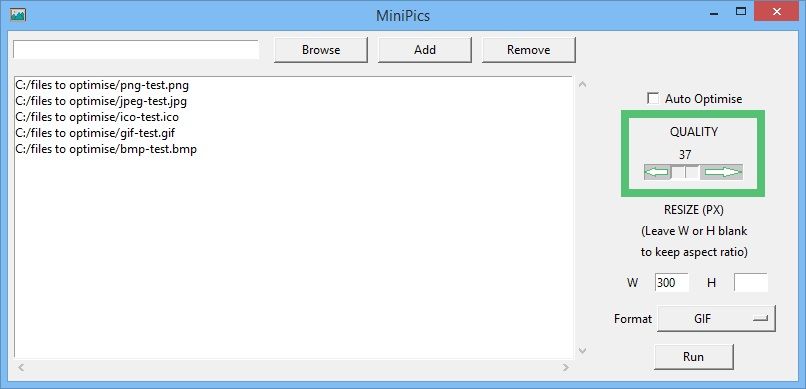
Setting the Image Quality
By amending the image quality, you will be able to drastically reduce the file size.
We strongly recommend to consider resizing your images before reducing quality. However, should you wish you reduce quality we recommend reducing the quality to 80%. This will ensure that there is no visible change to your image.
Resizing Images
You are able to resize images by inputting values into the height (H) and width (W) field. By pressing run and selecting your destination, the program will resize your images and save them to your chosen location. The values inputted will be computed as pixels.
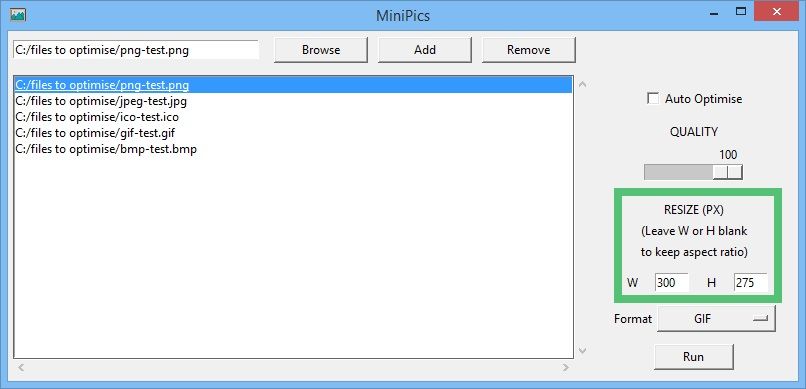
If you wish to retain the aspect ratio enter the new height or width only. By leaving one of the fields blank the program will calculate the appropriate value.
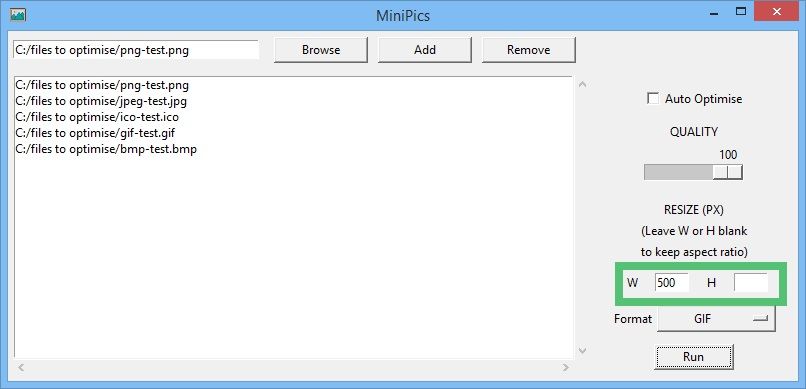
In terms of file size, reducing the image size will have a dramatic effect on your file size.
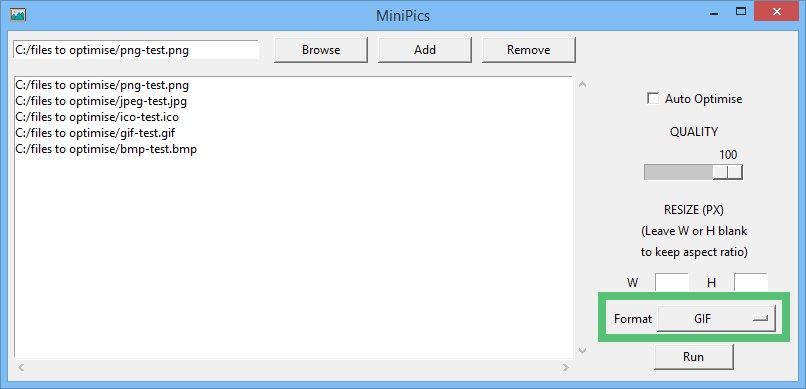
Changing the Format
You are able to change the format of your image by choosing from the dropdown menu. We recommend using JPEG as these files are relatively small in comparison to other file types.
During the optimisation program, the program will change the file type before proceeding with any other changes to the images. You may find that the output images are larger and this is due to the general file size of the file type you have chosen. For example, a JPEG image would be smaller than a GIF image.
A File was Skipped
Images are can be stitched up in various different ways. A quick fix would be to open the picture in Paint or similar and resave.
For the more technical beings, this may be due to the image colours being in RGBA mode. Try converting the image colours to RGB. Paint will do this for you.
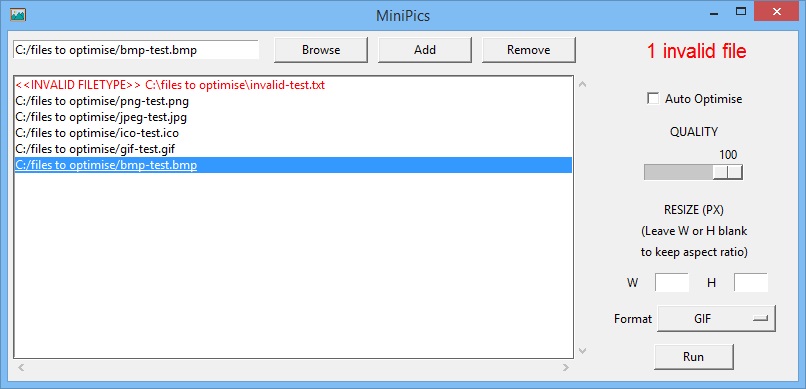
Invalid Filetype Error
If you have imported a file which is not a picture, then you will receive an invalid filetype error as the program is only meant for image conversations. Files such as PDFs will not work.
If you have imported an image file and are still experiencing this error, it is due to that particular file type unsupported.
In the example below a text file has been loaded and the system will recognise this as an invalid file and return an error.
You will still be able to run the program, however this file will be skipped.